Showing posts with label Before and After. Show all posts

Sunday, July 17, 2011

The Finish Line

It's so refreshing to complete a project that's been "in the works" for, what seems like, forever.

When I have people over to my house, I bring them around to show them my pieces. I love being able to say "I made it." I hate having to add, "But it still needs a little work." I know it's not necessary to point out the flaws, but I feel like I'm reminding myself - "Finish it, Kristin!"


I made this huge drum light fixture for my dining room using a combination of steel strapping, polystyrene, contact cement, spray adhesive, fabric and fishing line. It's definitely a statement piece.


It adds a warmth to the dining room when lit as opposed to the original, very modern, steel light fixture. I kept the original fixture as a mount for my drum shade.

It's been almost a year since I made it, but I never got around to putting a bottom shade on the drum. The direct light felt like an interrogation room instead of a dining room. But the new bottom shade finally completes the project. No more disclaimers. It's d.o.n.e.


I also completed a piece for a client.

Before

Overall, it's a very nice piece, but the old stain had a green tint to it.


The client wanted a raw wood finish - which is a look I love.

I disassembled it into pieces and created what looked like a crime scene for furniture. 


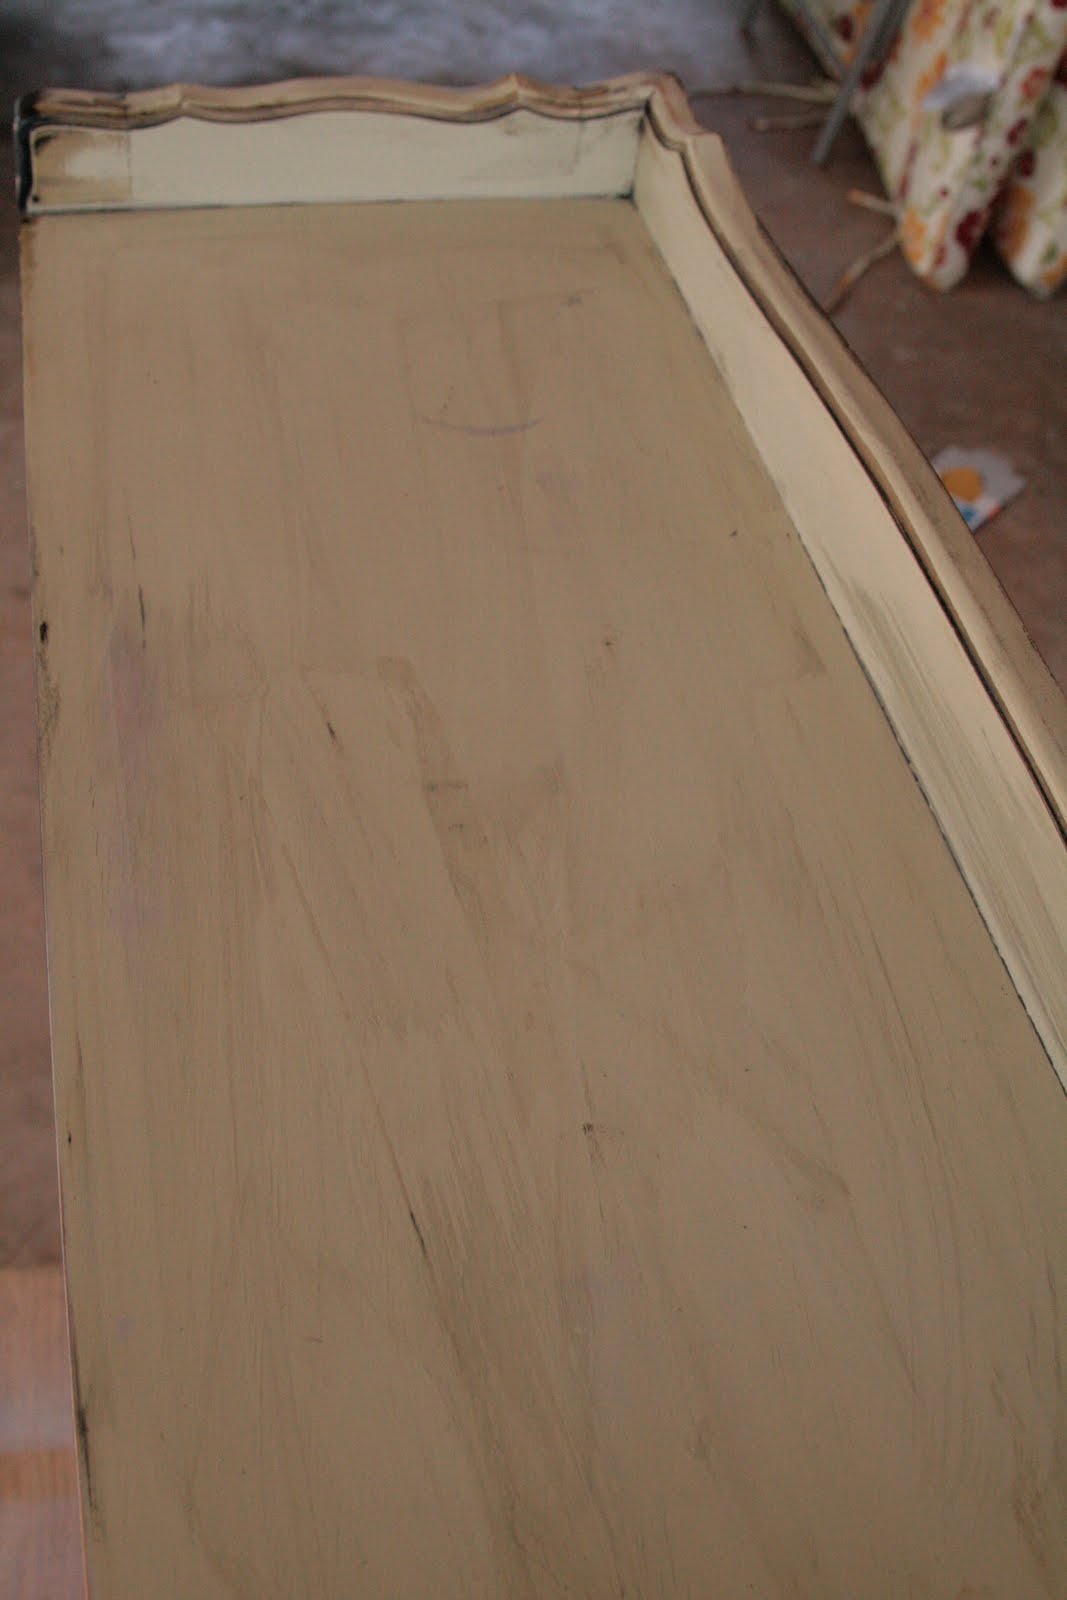
I stripped it, sanded it, applied a wood conditioner and a finishing wax. 


I like the fact that it's not polished. The extra time to strip the varnish showcased the beauty of the wood.


Another piece done and looking forward to returning to its owner.

-Kristin

Saturday, July 16, 2011

Eclectic Funky

I love finding new words to describe things. Simple words can resurrect and image from dull to vibrant. Or they can leave you in a tizzy.

When I saw an ad on Craigslist titled "Eclectic Funky Wooden Chair," I was intrigued. I mean, wouldn't you be a little curious to see what an eclectic funky wooden chair looked like?

Well, this is what I saw when I opened the ad:


Eclectic? Yes, I suppose.


Funky? 


Absolutely. In every sense of the term.

I can promise you that this cushion was not repurposed.

The seller told me this furniture was left in a house they bought from a Sherrif's Sale. She showed me around the house to see the rest of the antique furniture for sale. On the fireplace mantle was an old photo... similar to this:


While I was taking the cushion off the chair, an old seam ripper fell out. I just imaged the life of this lady living Uptown in this old house - sewing in the "eclectic"chair. 

I could also picture her sitting at this gorgeous secretary. 


Don't expect me to paint this. It would be a crime to cover it with anything but a little bit of Pledge.

But, the funky chair needed paint - and a good scrubbing. 


And another coat of paint. 


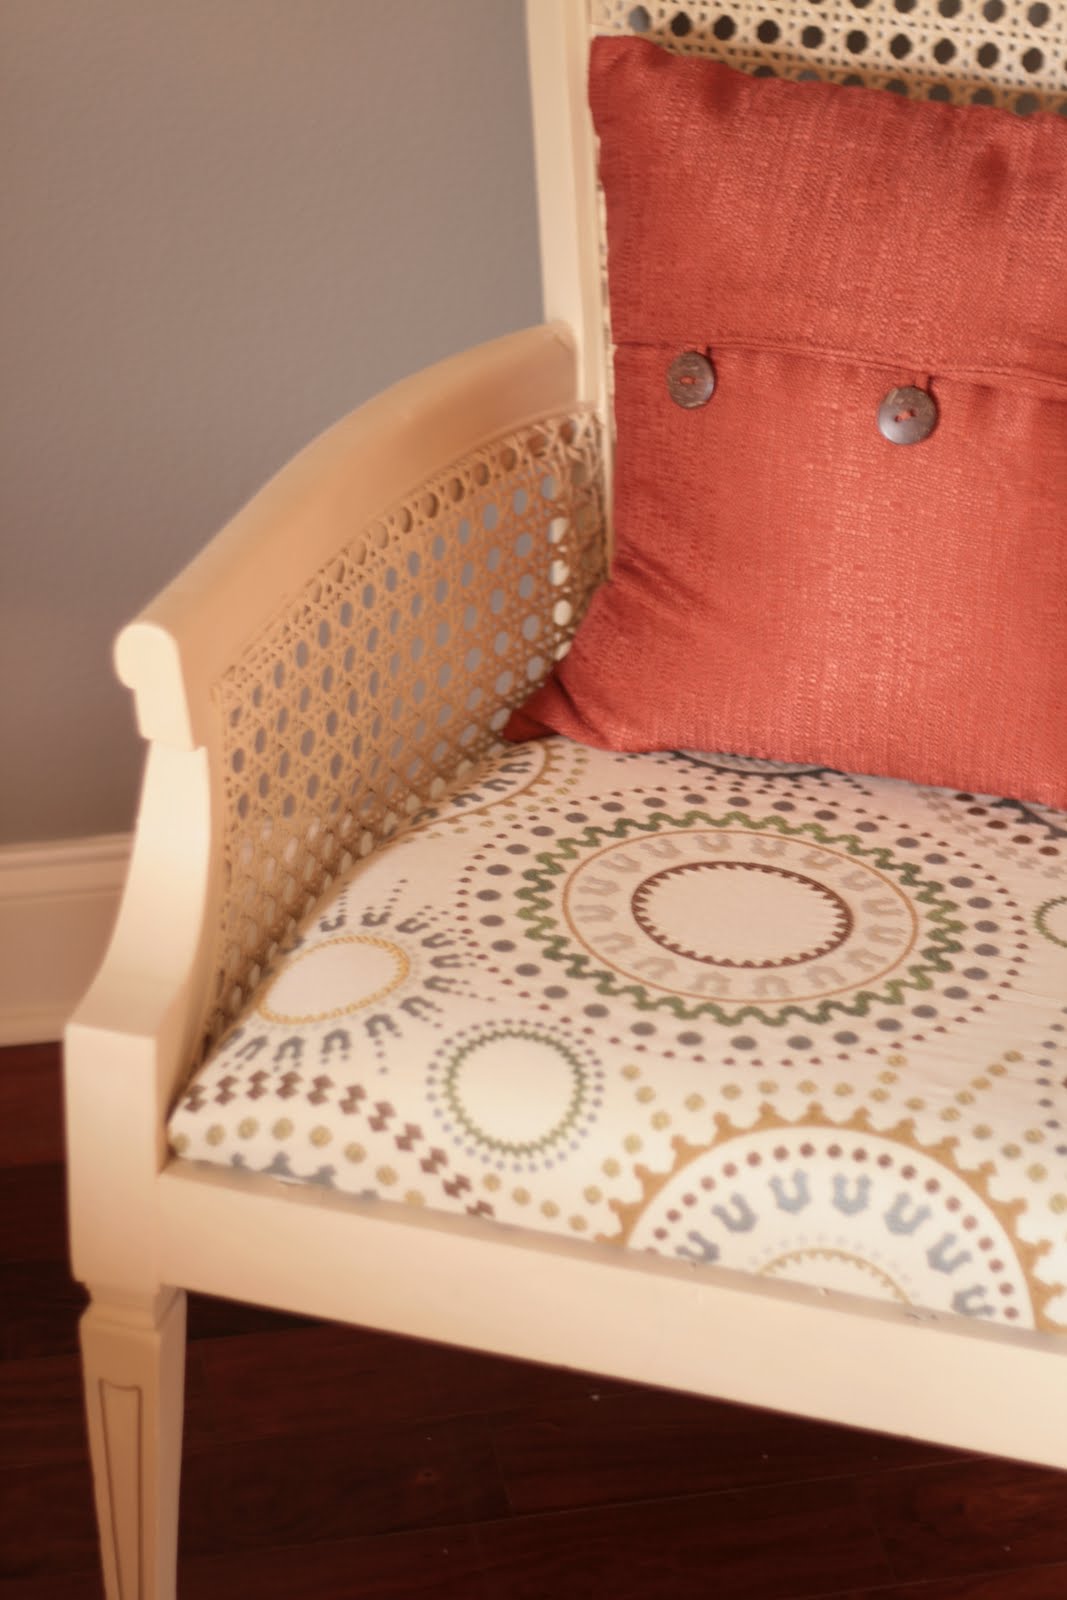
And a new cushion!


Finding fabric for this chair wasn't as easy as I thought. It was difficult to find a something that complimented the square edges of the chair and the round patter of the caning.


This fabric had enough geometric elements to tie the piece together. 


The rust color pillow helps make it eclectic -and a tad bit funky - the good kind of funky. 


-Kristin

Monday, July 11, 2011

The Thrill of What I Do

You know that nervous feeling before turning in a final product - the butterflies, the angst, the final critique of your work? Not to mention that nagging question after you put so much work into something– Is it good enough?

Well, that was me yesterday – and pretty much every time I refinish a piece. It’s not that I question the quality of my work, I just hope the new owners share the same love for the piece that I have.


This picture was the first introduction to my latest work: Three separate Craigslist-finds that, together, looked like they belonged to the Adams’ family. 


The worst part was finding an original cream paint with a champagne gold trim underneath. Why? Why? Why would you spray over that with black lacquer? I can’t explain it, but it really frustrated me...


...but I got over it. And I kept working on it.


And kept working on it. 


And painted it. And waxed it.  


And fell in love with it. 
When I arrived, the clients helped me unload it. With a grin, the wife tapped her husband on the arm and said, “Look at it, B! From what it used to be…”


We put it in their living room - and it was home. The walls, the fireplace mantle, the light fixtures – they all welcomed it. 


The anxiety finally turned to excitement. It all adds to the thrill of what I do.


 Kristin

Friday, July 8, 2011

Child's Chair

A rustic yet soft finish is my safe, go-to option when I refinish furniture. But when I was redoing a
child's chair, I wanted to break away from my usual finishes. I wanted color.


Originally, this yard sale find was dark, dirty and broken. An old stuffed bear was sitting in this chair, next to a table of old shoes. The seller offered the bear as part of the package, but I declined - maybe a little too fast because she seemed hurt I didn't want the stuffed toy.


I repaired the broken arm by cutting off as little of the split wood as possible.


Using a new piece of wood (cut at the same angle) and a Dremel tool, I formed a new arm for the chair.


I primed it with a coat of white. 


And finished it with a coat of Oops paint.


I had some fun fabric that I've been dying to use. I paired it with green ribbons for ties on the back.


Even Eeyore approves!


Kristin

Sunday, June 26, 2011

A Painted Desk

I accomplished a lot this weekend, but one more day would have been so much better. 


I bought this desk a few weeks ago and it was ready to be updated. The dried glitter-glue in the drawers was a tell-tale sign that it belonged to a young girl.


It was a little beat up and worn, but some sanding and priming brought it a long way.


I primed it with a coat of Paris Grey.


The color was closer to a soft blue. I buffed the piece with dark wax and it brought out a natural tone of grey.
A simple project that brought this piece a long way. 


Kristin

Saturday, June 25, 2011

Cane Chair

On one of my early-Saturday-yard-sale-hunts, I stopped at one that had many chairs stacked in a pile. They looked like they were left there for years, waiting to become a bonfire.

I asked how much she wanted for the chairs, and she responded, "Make me an offer." Oh, why do they say that? I know what potential some of these chairs can have, so I usually offer more than what they intended to sell them for. I just gave her a nod and snooped around the yard a little longer- still circling around the chairs - inspecting them, picking at the peeling paint, putting some weight on the frame to see how sturdy they were. Finally, she came back and offered me a price - thank you! She practically gave them to me. I left with 5 total chairs and enough cash to go find another yard sale.

By the end of the day, my yard ended up looking like I was having a sale myself. 


I had never replaced a caning on a chair before, but that's what Google's for, right? This chair wasn't too bad off, but it still needed a lot of work.


Since the seat of the chair was loose and torn, I pulled out the cane webbing and the reed splines. I used needle nose pliers to remove the brad nails that secured the reed in the chair.


I put wood glue in the joints and used clamps to tighten the joints to make the chair less-wobbly.


Once the glue dried, I painted the frame white. I went to a fabric store and bought the replacement cane webbing and reed. Not all fabric stores carry cane webbing, so call before you go. I cut the webbing to about a 1/4" larger than the crevass in the chair. I soaked the webbing in hot water for about an hour to make it more pliable.


Let it dry out for about an hour. Its okay if it's still damp when you install it; as it dries, it will make for a tighter fit on the chair. I used a chisel to push the webbing into the crevasses and the ream acts as a shim to hold it in place. Apply wood glue before inserting the reed.


I also used brad nails to add an extra bond for the reed. I painted only the ream to cover the brad nails. The last step was to apply a finishing wax with a rag to seal the flat paint.


Don't be afraid to try something new. It pays off in the end.

Before
After
Kristin