Wednesday, July 27, 2011

Window Side Table

I take pride in challenging myself to find different ways to make old windows into furniture. Like I've said before, I have a small collection of windows that sit in a corner. I walk by them everyday until I find the inspiration to turn them into something that's functional.

Originally, I had this table in my dining room...


Until this piece came along.

May Makeover Part II


The long table started out looking like this (but much worse.) It's from a pair of side windows for a front door that I found at the salvage yard. I sanded this down and stained it.

Awaiting a new project
For this table, I painted it and made a simple frame for it with 4 legs. I recently added a cream colored shelf for extra storage.


All it needs now is a good home.


Forgive me while I sneak in a shot of my new tea-light candle holders from Williams-Sanoma. I love the willow base for them.The best part is - they were on clearance!


Kristin

Monday, July 25, 2011

DIY - Refinishing Wood

“Can I just refinish this one spot?” 

A table my sister found while living in Germany.

 I’ve been getting this question a lot.

And, yes, you can refinish just that one spot, but I can’t promise that it’s going to look any better than it did before.

It’s difficult to match stains since there are hundreds to choose from. And even if you have the original stain, it can fade over time.

If you care about the piece enough to remove the water-stain or overall wear on a piece, you might as well go all-in. Just know that it can be messy, and if you don’t have all of the materials already, the costs can add up.

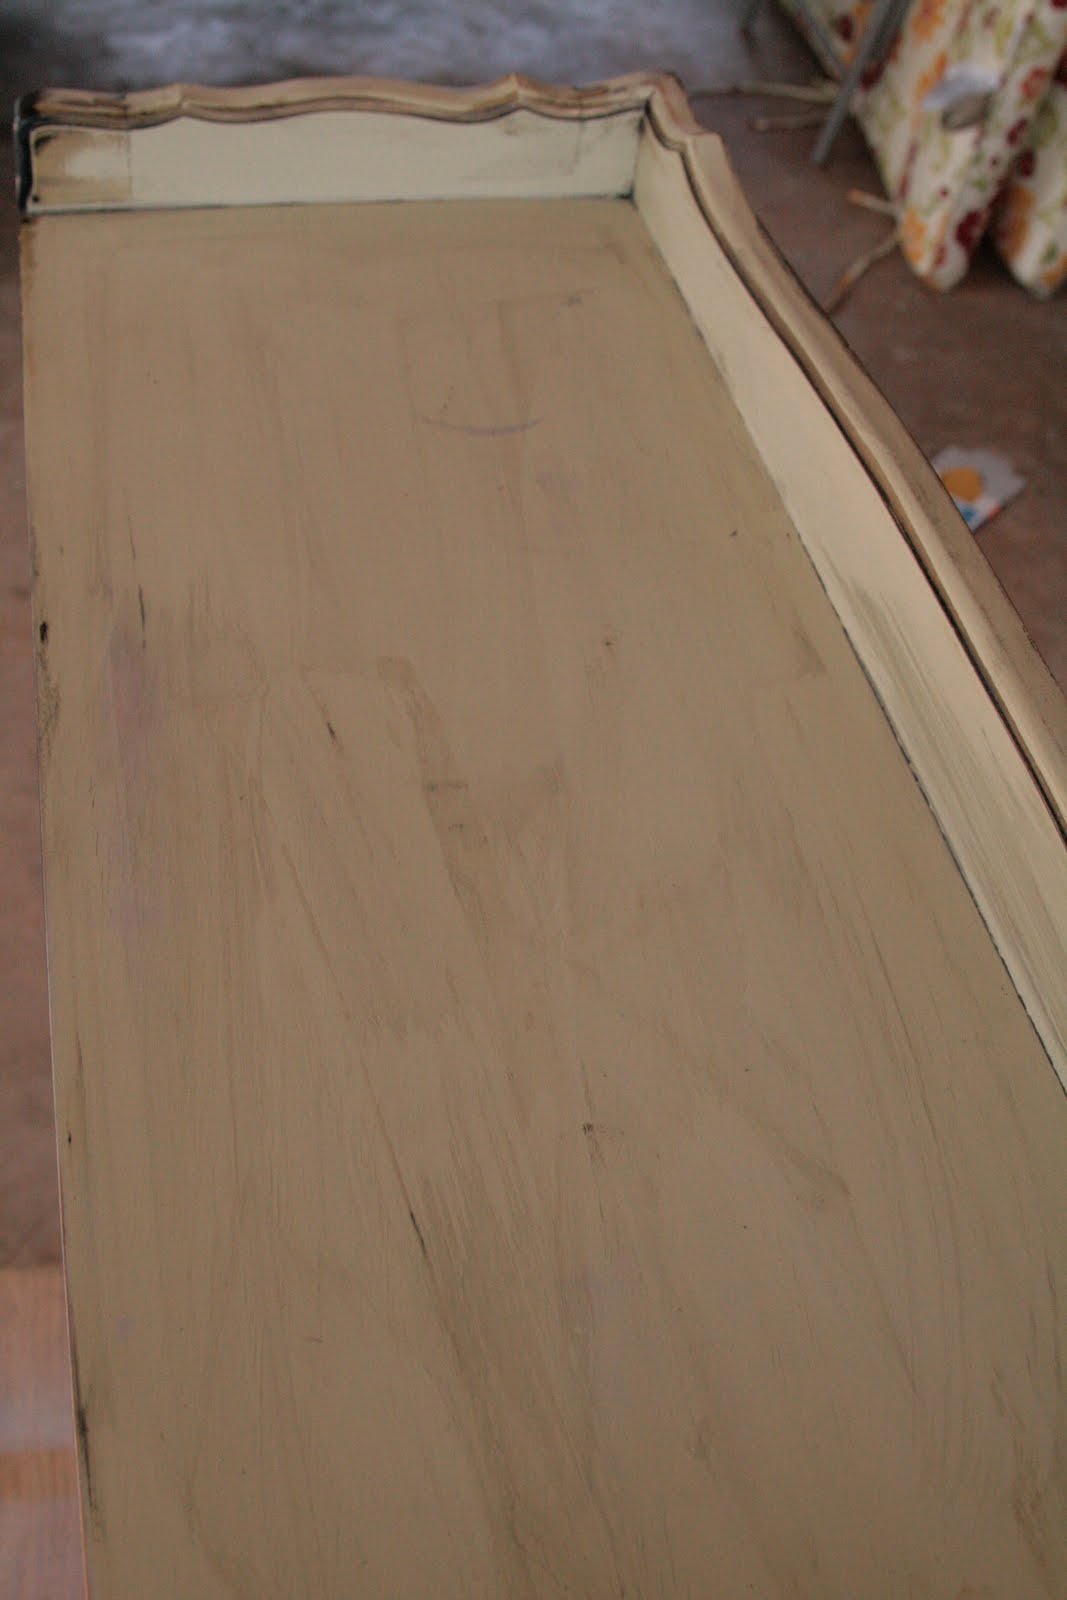
Here is one piece I did the other day. It’s a base for a china cabinet hutch, so only the edges need to be refinished.

1. Start with a stripper and a paint brush, working in small areas. Make sure to have chemical resistant gloves – the heavy duty ones. 


2. Remove the old varnish and stain with a metal scraper for the large, flat areas, steel wool for the large round edges, and a small wire brush for the details.

3. Sand the wood. I use a 120 grit and finished with a 220 grit. Wipe it down with a soft cloth to remove the sawdust. 


4. Apply a wood conditioner. This preps the wood to allow an even absorption of stain and limits streaking. 


5. Apply the stain (I use a sponge brush.) Let it sit for 5-15 minutes and wipe off the excess. If you want the stain darker, keep applying the stain until you get the desired color. You have to let the stain cure for about 8 hours. 


6. Apply the varnish. I use the Minwax Polycrylic. The more coats you put on (2 hours apart) the shinier the surface. Use a 220 grit in-between coats. 


From May Makeover Part II

 
Instead of a varnish, you can use a finishing wax for a “soft luster” or just leave the wood with its natural finish.

Wax Finish from The Finish Line


If you’re a beginner DIYer or you’re doing a one-time project, here’s the breakdown of what it will cost you.

Materials: (all are estimated with tax)
Kleen Strip Stripper:   $12
Chemical Resistant Gloves: $9
Paint Brush: $4
Steel Wool: $3
Small Wire Brush: $1
Sandpaper: $6
Dust masks: $5
Cloth/Rags: Free if you’re using an old shirt, but a 1 lb bag runs about $5
Wood conditioner (only comes in a quart) $10
Stain: (pint size) $4
Sponge brush: $1
Polycrylic or finishing wax: $10
------------------------------------------------------------ Totals to $70

These will be useful for other projects, but you will need them for this project:
2 saw horses: $30
1 sheet of plywood: $10
1 small sander (least expensive runs around… ) $40
------------------------------------------------------------  An extra $80

So if you’re doing this for a one time project, the costs are $150 plus your time committed to this project. Always ask your handy friends if you can borrow their cool tools and supplies, I’m sure they’ll be glad to help!

This article is also has great information: http://www.ehow.com/how_4473123_refinish-furniture.html


Hope this helps!

 Kristin

Sunday, July 24, 2011

Salvage Chic

I've got a closet, workshop and carport full of items that are leftover from other projects or awaiting inspiration. I joke that it's starting to look like Sanford and Son - but in all seriousness, it's getting bad.

I've got a tire to make the collection even classier! That's not for a project - I'm just driving without a spare.

Every now and then I'll shuffle the items around so it will look like I'm doing something with it, but the project list is getting longer. Since this isn't my "real" job, my time is limited to nights and weekends. I'll force myself to pass up a good deal on something I love because I'm running out of space.

Extra seating in my dining room. ; )

I enjoy the simple projects that I can finish quickly even though it might take weeks before I figure out what to do with it.

I had an old window sash that didn't have any glass panes in it and some leftover chicken wire from my garden. I also had some seafoam wood stain from the oops section at The Home Depot.


A little sanding, staining and staples made this an easy afternoon project.


I used sisal rope as the mounting hardware.

I stained the clothes pins the same color as the frame.

A chicken wire window frame.
Sorry for the horrible staging on this photo. If the new owner (you know who you are) could send me a picture of this frame in your super-stylish kitchen, it would be much appreciated! :)

Also, It's only been 2 months since I've started my blog, but I reached 1000 all-time page views on Friday. I know this is a small number compared to some other blogs, but it's encouraging to know people are reading! Thanks for all the support!

Yours Truly, 

Sanford


Sunday, July 17, 2011

The Finish Line

It's so refreshing to complete a project that's been "in the works" for, what seems like, forever.

When I have people over to my house, I bring them around to show them my pieces. I love being able to say "I made it." I hate having to add, "But it still needs a little work." I know it's not necessary to point out the flaws, but I feel like I'm reminding myself - "Finish it, Kristin!"


I made this huge drum light fixture for my dining room using a combination of steel strapping, polystyrene, contact cement, spray adhesive, fabric and fishing line. It's definitely a statement piece.


It adds a warmth to the dining room when lit as opposed to the original, very modern, steel light fixture. I kept the original fixture as a mount for my drum shade.

It's been almost a year since I made it, but I never got around to putting a bottom shade on the drum. The direct light felt like an interrogation room instead of a dining room. But the new bottom shade finally completes the project. No more disclaimers. It's d.o.n.e.


I also completed a piece for a client.

Before

Overall, it's a very nice piece, but the old stain had a green tint to it.


The client wanted a raw wood finish - which is a look I love.

I disassembled it into pieces and created what looked like a crime scene for furniture. 


I stripped it, sanded it, applied a wood conditioner and a finishing wax. 


I like the fact that it's not polished. The extra time to strip the varnish showcased the beauty of the wood.


Another piece done and looking forward to returning to its owner.

-Kristin

Saturday, July 16, 2011

Eclectic Funky

I love finding new words to describe things. Simple words can resurrect and image from dull to vibrant. Or they can leave you in a tizzy.

When I saw an ad on Craigslist titled "Eclectic Funky Wooden Chair," I was intrigued. I mean, wouldn't you be a little curious to see what an eclectic funky wooden chair looked like?

Well, this is what I saw when I opened the ad:


Eclectic? Yes, I suppose.


Funky? 


Absolutely. In every sense of the term.

I can promise you that this cushion was not repurposed.

The seller told me this furniture was left in a house they bought from a Sherrif's Sale. She showed me around the house to see the rest of the antique furniture for sale. On the fireplace mantle was an old photo... similar to this:


While I was taking the cushion off the chair, an old seam ripper fell out. I just imaged the life of this lady living Uptown in this old house - sewing in the "eclectic"chair. 

I could also picture her sitting at this gorgeous secretary. 


Don't expect me to paint this. It would be a crime to cover it with anything but a little bit of Pledge.

But, the funky chair needed paint - and a good scrubbing. 


And another coat of paint. 


And a new cushion!


Finding fabric for this chair wasn't as easy as I thought. It was difficult to find a something that complimented the square edges of the chair and the round patter of the caning.


This fabric had enough geometric elements to tie the piece together. 


The rust color pillow helps make it eclectic -and a tad bit funky - the good kind of funky. 


-Kristin

Monday, July 11, 2011

The Thrill of What I Do

You know that nervous feeling before turning in a final product - the butterflies, the angst, the final critique of your work? Not to mention that nagging question after you put so much work into something– Is it good enough?

Well, that was me yesterday – and pretty much every time I refinish a piece. It’s not that I question the quality of my work, I just hope the new owners share the same love for the piece that I have.


This picture was the first introduction to my latest work: Three separate Craigslist-finds that, together, looked like they belonged to the Adams’ family. 


The worst part was finding an original cream paint with a champagne gold trim underneath. Why? Why? Why would you spray over that with black lacquer? I can’t explain it, but it really frustrated me...


...but I got over it. And I kept working on it.


And kept working on it. 


And painted it. And waxed it.  


And fell in love with it. 
When I arrived, the clients helped me unload it. With a grin, the wife tapped her husband on the arm and said, “Look at it, B! From what it used to be…”


We put it in their living room - and it was home. The walls, the fireplace mantle, the light fixtures – they all welcomed it. 


The anxiety finally turned to excitement. It all adds to the thrill of what I do.


 Kristin